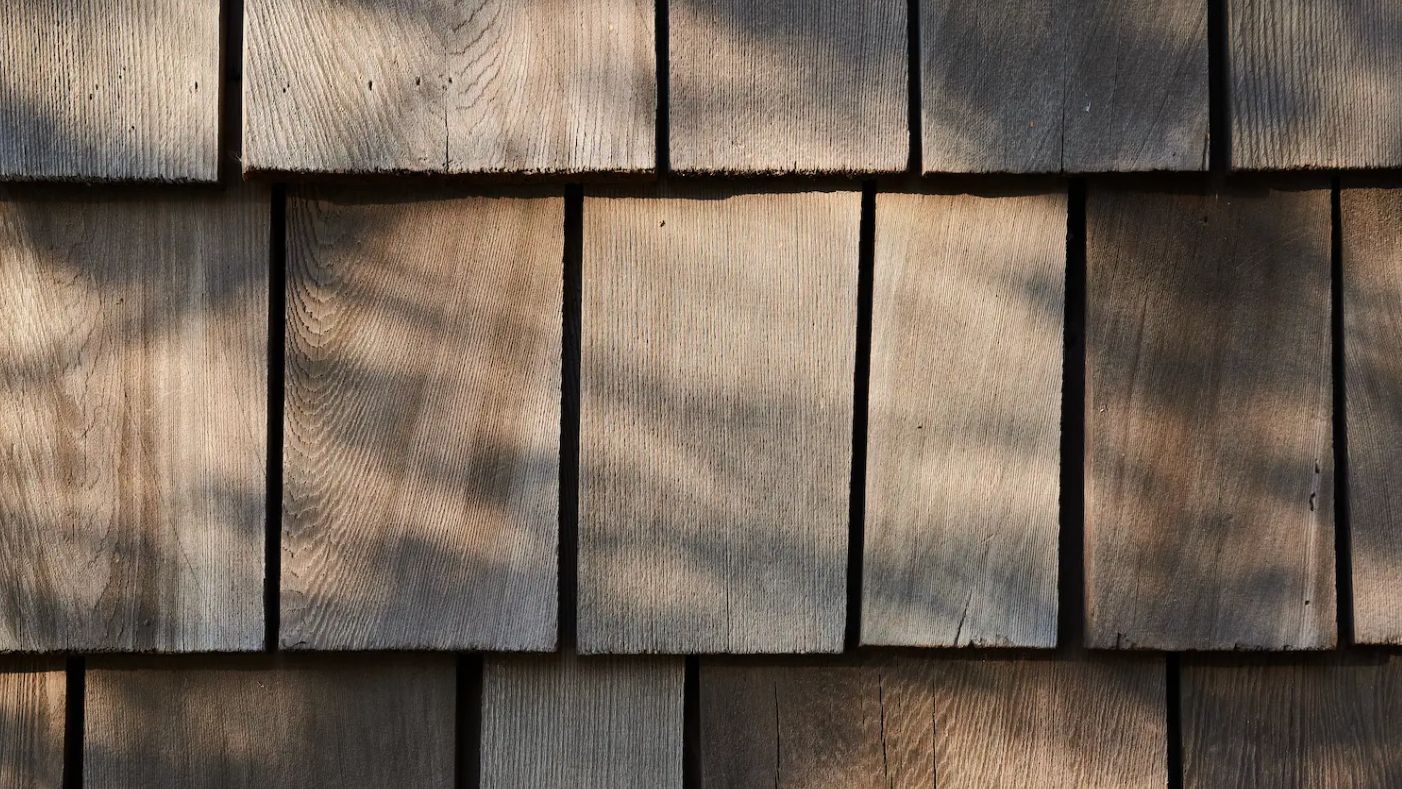
Here is a general outline of the steps involved in installing white cedar siding. Keep in mind that specific instructions may vary based on the type of siding, the manufacturer’s recommendations, and local building codes. It’s important to consult the manufacturer’s installation guidelines and, if necessary, seek professional assistance for your specific installation.
1. Gather the necessary materials and tools
This may include white cedar siding, fasteners, moisture barrier, flashing, trim pieces, caulking, and the appropriate tools such as a saw, hammer, level, tape measure, and nail gun.
2. Prepare the surface
Ensure that the surface where the siding will be installed is properly sheathed and prepared according to local building codes. Install a weather-resistant barrier or moisture barrier over the sheathing to protect against moisture infiltration
3. Install starter strips
Begin by installing starter strips along the bottom of the wall to provide a level base for the first course of siding. The starter strips should be properly aligned and securely fastened.
4. Install the first course
Place the first course of siding along the starter strip, making sure it is level and properly aligned. Use the appropriate fasteners, such as stainless steel nails, to secure the siding to the wall. Follow the manufacturer’s recommendations for fastener placement and spacing.

5. Continue with subsequent courses
Install additional courses of siding, ensuring that each piece overlaps the one below it properly. Use a level to ensure that the siding is installed straight and plumb
6. Apply flashing and trim
Install flashing around windows, doors, and other penetrations to prevent water infiltration. Additionally, install trim pieces as needed to finish the edges and corners of the siding.
7. Apply finishing touches
Once the siding is installed, apply any necessary caulking or sealant to ensure that the siding is properly sealed and protected from moisture.
8. Perform necessary maintenance
After installation, follow the manufacturer’s recommendations for any required finishing treatments, such as staining or sealing, and establish a maintenance schedule to ensure the longevity of the siding.
This is a general overview of the steps involved in installing white cedar siding. It’s important to refer to the specific installation guidelines provided by the manufacturer of the siding you are using and to comply with local building codes and regulations. If you’re unsure about any aspect of the installation, consider consulting with a professional contractor or installer.
We at Millers Pro Roofing & Siding are the leaders in siding services in Cape Cod, MA, and enhancing homes specialists
Click here and get a free quote for your siding project with Millers Pro Roofing & Siding


